Setting up
If you arrived here for the first time, welcome! We're very happy to see yet another traveler that is interested in our project, although bear in mind that with great power comes great responsibility - ASF is capable of doing a lot of different Steam-related things, but only as long as you care enough to learn how to use it. There is a steep learning curve involved here, and we expect from you to read the wiki in this regard, which explains in detail how everything operates.
If you're still here then it means that you endured our text above, which is nice. Unless you skipped over it, then you're going to have a bad time soon enough... Anyway, ASF is a console app, which means that the program itself doesn't have a friendly GUI that you're in general used to, at least out of the box. ASF was mainly supposed to be run on servers, so it acts as a service (daemon) and not a desktop app.
This however doesn't mean that you can't use it on your PC or using it is in some way more complicated than usual, nothing like that. ASF is a standalone program that doesn't need installation, and works out of the box right away, but requires configuration prior to becoming useful. Configuration is telling ASF what it should in fact do after you launch it. If you launch it without configuration, then ASF won't do anything, simple.
In general, here is what we'll do in the next few minutes:
- Install .NET prerequisites.
- Download latest ASF release in appropriate OS-specific variant.
- Extract the archive into new location.
- Configure ASF.
- Launch ASF and see the magic.
Sounds simple enough, right? So let's get through it.
First step is ensuring that your OS can even launch ASF properly. ASF is written in C#, based on .NET platform and may require native libraries that are not available on your platform yet. Depending on whether you use Windows, Linux or macOS, you will have different requirements, although all of them are listed in .NET prerequisites document that you should follow. This is our reference material that should be used, but for the sake of simplicity we've also detailed all needed packages below, so you don't need to read the full document.
It's perfectly normal that some (or even all) dependencies already exist on your system due to being installed by third-party software that you're using. Still, you should ensure that it's truly the case by running appropriate installer for your OS - without those dependencies ASF won't launch at all.
Keep in mind that you don't need to do anything else for OS-specific builds, especially installing .NET SDK or even runtime, since OS-specific package includes all of that already. You need only .NET prerequisites (dependencies) to run .NET runtime included in ASF.
- Microsoft Visual C++ Redistributable Update (x64 for 64-bit Windows, x86 for 32-bit Windows)
- It's highly recommended to ensure that all Windows updates are already installed. At the very least you need KB2533623, KB2999226, but more updates may be needed. All of them are already installed if your Windows is up-to-date. Ensure that you meet those requirements prior to installing Visual C++ package.
Package names depend on the Linux distribution that you're using, we've listed the most common ones. You can obtain all of them with native package manager for your OS (such as apt for Debian or yum for CentOS).
-
ca-certificates(standard trusted SSL certificates to make HTTPS connections) -
libc6(libc) -
libgcc-s1(libgcc1,libgcc) -
libicu(icu-libs, latest version for your distribution, for examplelibicu72) -
libgssapi-krb5-2(libkrb5-3,krb5-libs) -
libssl1.1(libssl,openssl-libs, latest version for your distribution, at least1.1.X) -
libstdc++6(libstdc++, in version5.0or higher) -
zlib1g(zlib)
At least a majority of those should be already natively available on your system. The minimal installation of Debian stable required only libicu72.
- None for now, but you should have latest version of macOS installed, at least 10.15+
Since we have all required dependencies already, the next step is downloading latest ASF release. ASF is available in many variants, but you're interested in package that matches your operating system and architecture. For example, if you're using 64-bit Windows, then you want ASF-win-x64 package. For more information about available variants, visit compatibility section. ASF is also able to run on OSes that we're not building OS-specific package for, such as 32-bit Windows, head over to generic setup for that.

After download, start from extracting the zip file into its own folder. If you require specific tool for that, 7-zip will do it, but all standard utilities like unzip from Linux/macOS should work without problems as well.
Be advised to unpack ASF to its own directory and not to any existing directory you're already using for something else - ASF's auto-updates feature will delete all old and unrelated files when upgrading, which may lead to you losing anything unrelated you put in ASF directory. If you have any extra scripts or files that you want to use with ASF, put them in one folder above.
An example structure would look like this:
C:\ASF (where you put your own things)
    ├── ASF shortcut.lnk (optional)
    ├── Config shortcut.lnk (optional)
    ├── Commands.txt (optional)
    ├── MyExtraScript.bat (optional)
    ├── (...) (any other files of your choice, optional)
    └── Core (dedicated to ASF only, where you extract the archive)
         ├── ArchiSteamFarm(.exe)
         ├── config
         ├── logs
         ├── plugins
         └── (...)
We're now ready to do the very last step, the configuration. This is by far the most complicated step, since it involves a lot of new information you're not familiar with yet, so we'll try to provide some easy to understand examples and simplified explanation here.
First and foremost, there is configuration page that explains everything that relates to configuration, but it's a massive amount of new information, a lot of which we don't need to know right away. Instead, we'll teach you how to get the information you're actually looking for.
ASF configuration can be done in at least three ways - through our web config generator, ASF-ui or manually. This is explained in-depth in configuration section, so refer to that if you want more detailed information. We'll use web config generator as a starting point.
Navigate to our web config generator page with your favourite browser, you'll need to have javascript enabled in case you manually disabled it. We recommend Chrome or Firefox, but it should work on all most popular browsers.
After opening the page, switch to "Bot" tab. You should now see a page similar to the one below:

If by any chance the version of ASF that you've just downloaded is older than what config generator is set to use by default, simply choose your ASF version from the dropdown menu. This can happen as the config generator can be used for generating configs to newer (pre-release) ASF versions that weren't marked as stable yet. You've downloaded latest stable release of ASF that is verified to work reliably.
Start from putting name for your bot into the field highlighted as red. This can be any name you'd like to use, such as your nickname, account name, a number, or anything else. There is only one word that you can't use, ASF, as that keyword is reserved for global config file. In addition to that your bot name can't start with a dot (ASF intentionally ignores those files). We also recommend that you avoid using spaces, you can use _ as a word separator if needed.
After you decided about your name, change Enabled switch to be on, this defines whether your bot is supposed to be started by ASF automatically after launch (of the program).
Now you can decide upon two things:
- You can put your login in
SteamLoginfield and your password inSteamPasswordfield - Or you can leave them empty
Doing the first thing will allow ASF to automatically use your account credentials during startup, so you won't need to input them manually each time ASF needs them. You can however decide to omit them, in which case they're not being saved, so ASF won't be able to automatically start without your help and you'll need to input them during runtime.
ASF requires your login credentials because it includes its own implementation of Steam client and needs the same details to log in as the one that you use yourself. Your login credentials are not saved anywhere but on your PC in ASF config directory only, our web config generator is client-based which means that the code is run locally in your browser to generate valid ASF configs, without details you're inputting ever leaving your PC in the first place, so there is no need to worry about any possible sensitive data leak. Still, if you for whatever reason don't want to put your credentials there, we understand that, and you can put them manually later in generated files, or omit them entirely and put them only in ASF command prompt. More on security matter can be found in configuration section.
You can also decide to leave just one field empty, such as SteamPassword, ASF will then be able to use your login automatically, but will still ask for password (similar to Steam Client). If you're using Steam parental to unlock the account, you'll need to put it into SteamParentalCode field.
After the decision and optional details, your web page will now look similar to the one below:

You can now hit "download" button and our web config generator will generate new json file based on your chosen name. Save that file into config directory which is located in the folder where you've extracted our zip file in the previous step.
Your config directory will now look like this:

Congratulations! You've just finished the very basic ASF bot configuration. We'll extend this shortly, for now this is everything that you need.
You're now ready to launch the program for the first time. Simply double-click ArchiSteamFarm binary in ASF directory. You can also start it from the console.
After doing so, assuming you installed all required dependencies in the first step, ASF should launch properly, notice your first bot (if you didn't forget to put generated config in config directory), and attempt to log in:

If you supplied SteamLogin and SteamPassword for ASF to use, you'll be asked for your SteamGuard token only (e-mail, 2FA or none, depending on your Steam settings). If you didn't, you'll also be asked for your Steam login and password.
Now would be a good time to review our remote communication section if you're concerned about stuff ASF is programmed to do, including actions it'll take in your name, such as joining our Steam group.
After passing through initial login gate, assuming your details are correct, you'll successfully log in, and ASF will start farming using default settings that you didn't change as of now:

This proves that ASF is now successfully doing its job on your account, so you can now minimize the program and do something else. After enough of time (depending on performance), you'll see Steam trading cards slowly being dropped. Of course, for that to happen you must have valid games to farm, showing as "you can get X more card drops from playing this game" on your badges page - if there are no games to farm, then ASF will state that there is nothing to do, as stated in our FAQ.
This concludes our very basic setting up guide. You can now decide whether you want to configure ASF further, or let it do its job in default settings. We'll cover a few more basic details, then leave you entire wiki for discovery.
ASF supports farming more than one account at a time, which is its primary function. You can add more accounts to ASF by generating more bot config files, in exactly the same way as you've generated your first one just a few minutes ago. You need to ensure only two things:
- Unique bot name, if you already have your first bot named "MainAccount", you can't have another one with the same name.
- Valid login details, such as
SteamLogin,SteamPasswordandSteamParentalCode(if using Steam parental settings)
In other words, simply jump to configuration again and do exactly the same, just for your second or third account. Remember to use unique names for all of your bots.
You change existing settings in exactly the same way - by generating a new config file. If you didn't close our web config generator yet, click on "toggle advanced settings" and see what is there for you to discover. For this tutorial we'll change CustomGamePlayedWhileFarming setting, which allows you to set custom name being displayed when ASF is farming, instead of showing actual game.
So let's do that, if you run ASF and start farming, in default settings you'll see that your Steam account is in-game now:

Let's change that then. Toggle advanced settings in web config generator and find CustomGamePlayedWhileFarming. Once you do that, put your own custom text there that you want to display, such as "Idling cards":

Now download the new config file in exactly the same way, then overwrite your old config file with new one. You can also delete your old config file and put new one in its place of course.
Once you do that and start ASF again, you'll notice that ASF now displays your custom text in previous place:

This confirms that you've successfully edited your config. In exactly the same way you can change global ASF properties, by switching from bot tab to "ASF" tab, downloading generated ASF.json config file and putting it in your config directory.
Editing your ASF configs can be done much easier by using our ASF-ui frontend, which will be explained further below.
ASF is a console app and doesn't include a graphical user interface. However, we're actively working on ASF-ui frontend to our IPC interface, which can be a very decent and user-friendly way to access various ASF features.
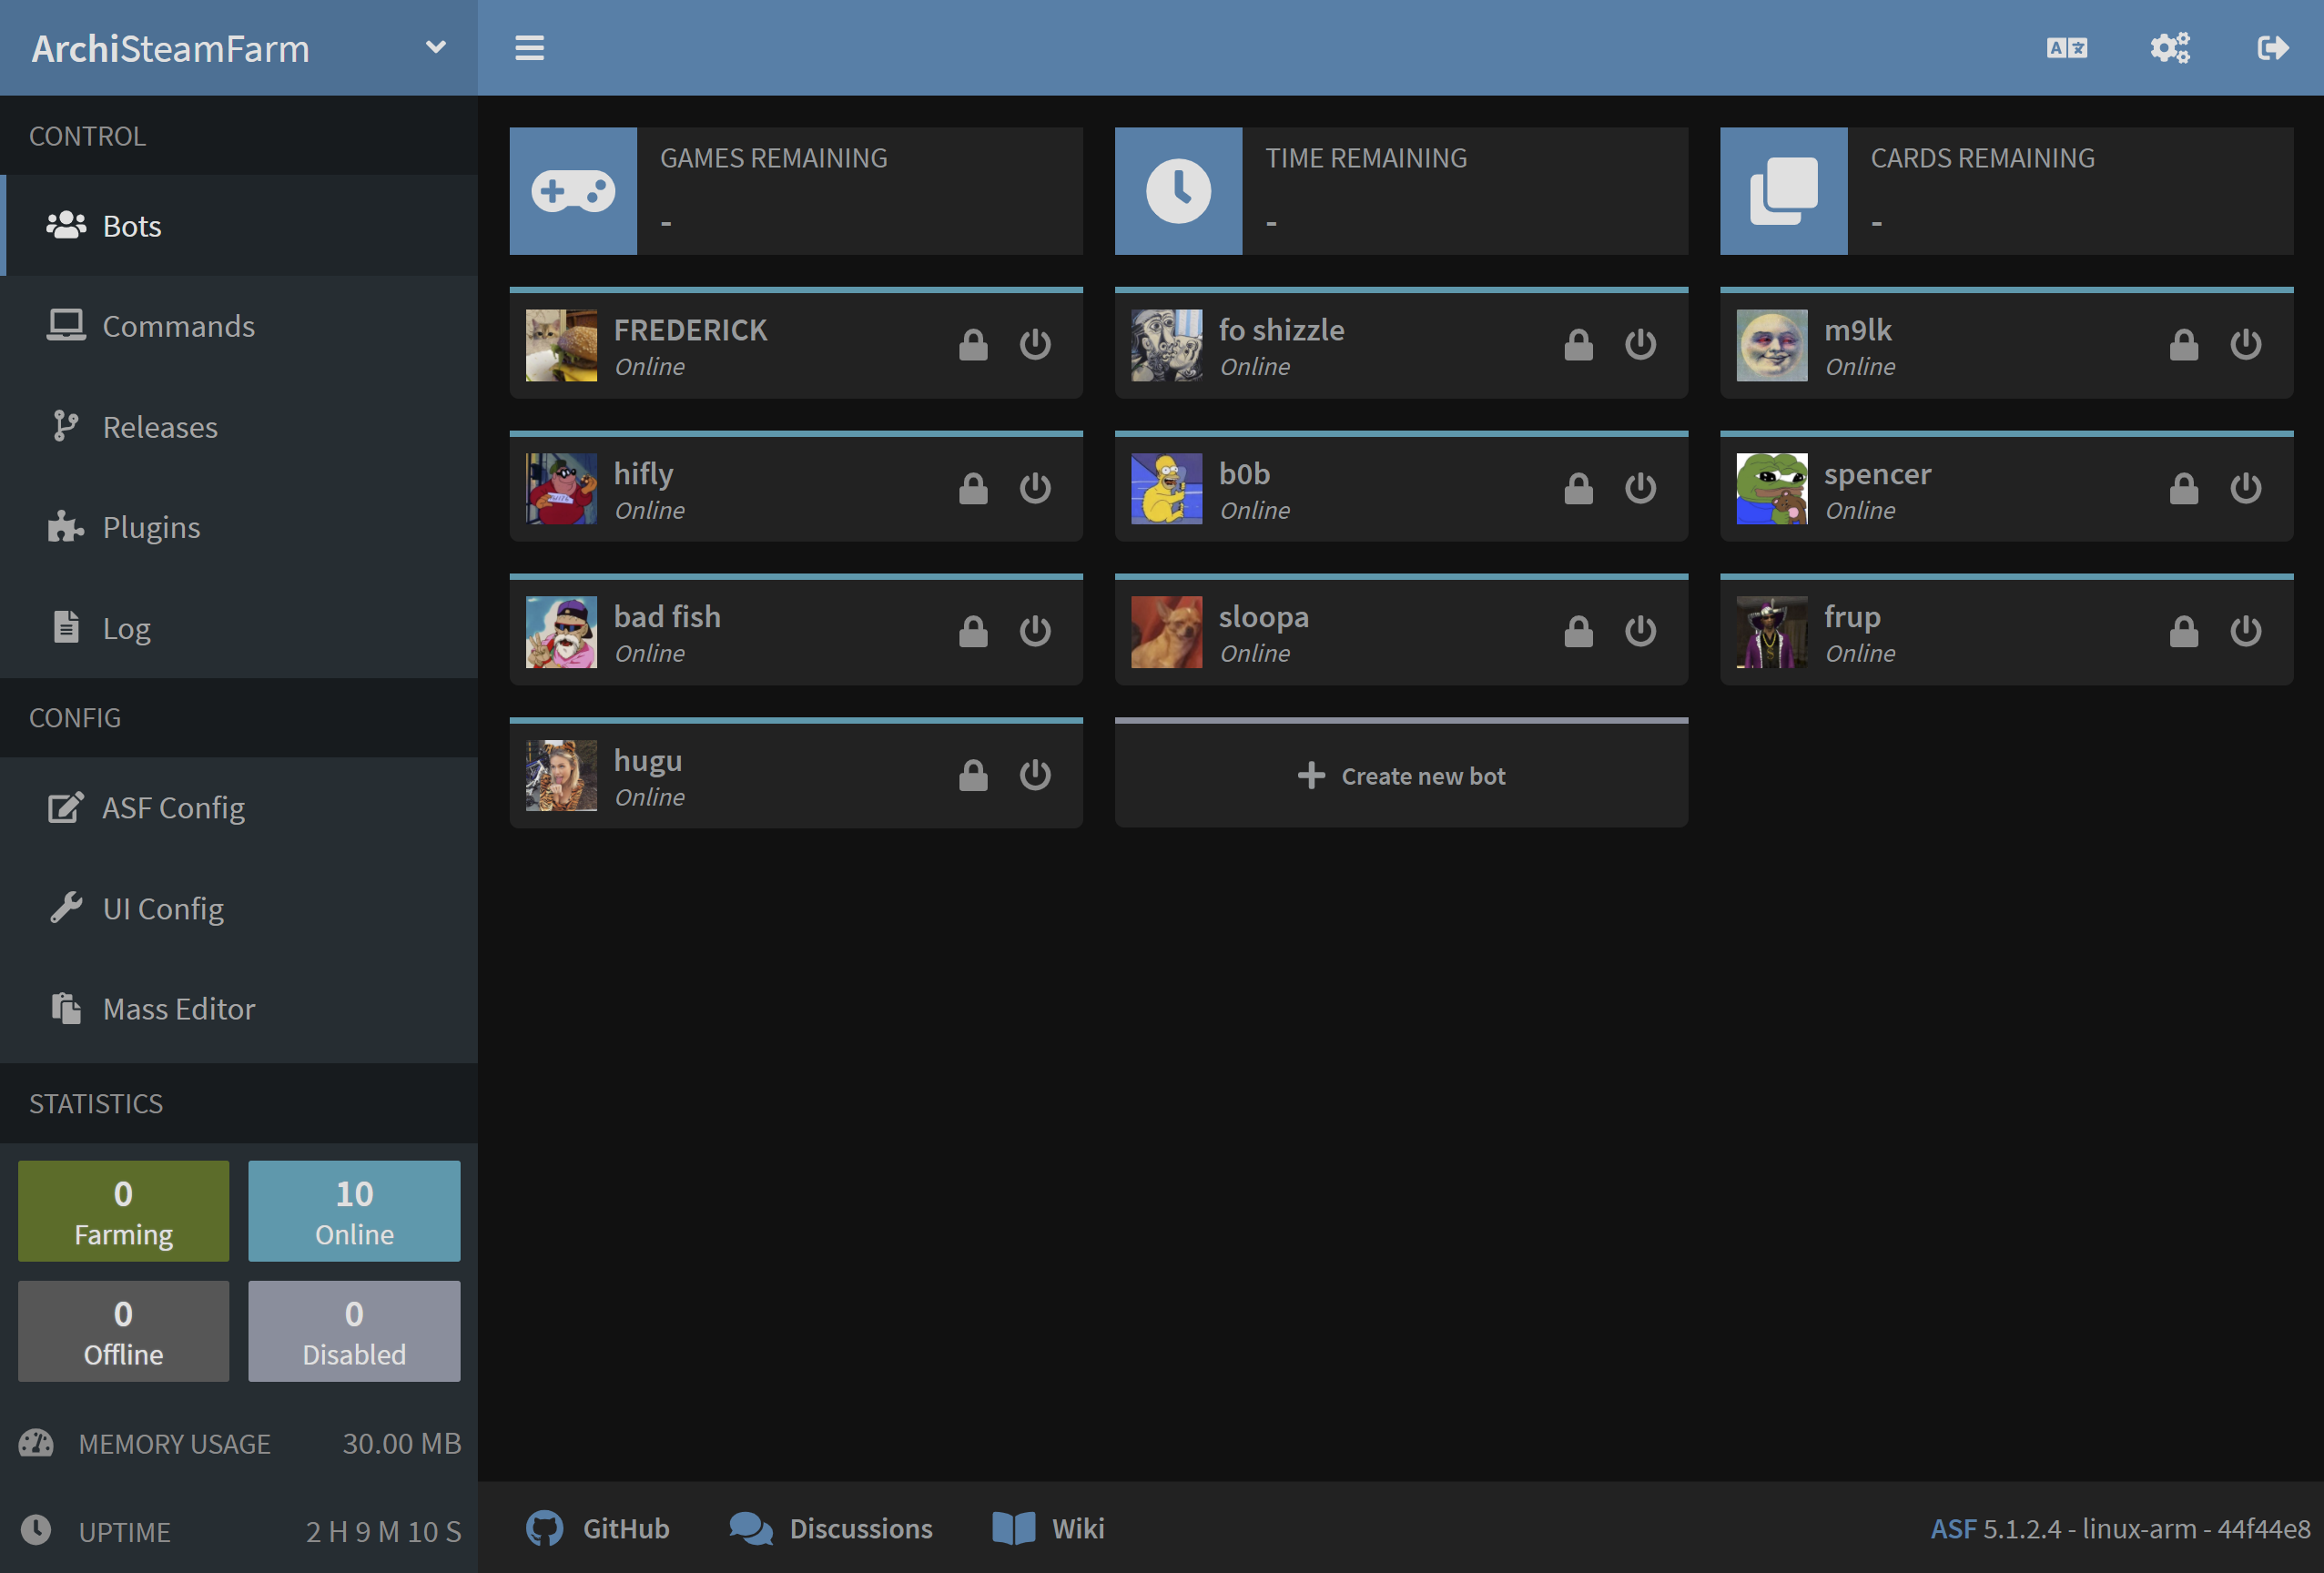
In order to use ASF-ui, you need to have IPC enabled, which is the default option. Once you launch ASF, you should be able to confirm that it properly started the IPC interface automatically:

You can access ASF's IPC interface under this link, as long as ASF is running, from the same machine. You can use ASF-ui for various purposes, e.g. editing the config files in-place or sending commands. Feel free to take a look around in order to find out all ASF-ui functionalities.
You've successfully set up ASF to use your Steam accounts and you've already customized it to your liking a little. If you followed our entire guide, then you also managed to tweak ASF through our ASF-ui interface and found out that ASF actually has a GUI of some sort. Now is a good time to read our entire configuration section in order to learn what all those different settings you've seen actually do, and what ASF has to offer. If you've stumbled upon some issue or you have some generic question, read our FAQ instead which should cover all, or at least a vast majority of questions that you may have. If you want to learn everything about ASF and how it can make your life easier, head over to the rest of our wiki. If you found out our program to be useful for you and you're feeling generous, you can also consider donating to our project. In any case, have fun!
This setup is for advanced users that want to set up ASF to run in generic variant. While being more troublesome in usage than OS-specific variants, they also come with additional benefits.
You want to use generic variant mainly in those situations (but of course you can use it regardless):
- When you're using OS that we don't build OS-specific package for (such as 32-bit Windows)
- When you already have .NET Runtime/SDK, or want to install and use one
- When you want to minimize ASF structure size and memory footprint by handling runtime requirements yourself
- When you want to use a custom plugin which requires a
genericsetup of ASF to run properly (due to missing native dependencies)
However, keep in mind that you're in charge of .NET runtime in this case. This means that if your .NET SDK (runtime) is unavailable, outdated or broken, ASF won't work. This is why we don't recommend this setup for casual users, since you now need to ensure that your .NET SDK (runtime) matches ASF requirements and can run ASF, as opposed to us ensuring that our .NET runtime bundled with ASF can do so.
For generic package, you can follow entire OS-specific guide above, with two small changes. In addition to installing .NET prerequisites, you also want to install .NET SDK, and instead of having OS-specific ArchiSteamFarm(.exe) executable file, you now have a generic ArchiSteamFarm.dll binary only. Everything else is exactly the same.
With extra steps:
- Install .NET prerequisites.
- Install .NET SDK (or at least ASP.NET Core runtime) appropriate for your OS. You most likely want to use an installer. Refer to runtime requirements if you're not sure which version to install.
- Download latest ASF release in
genericvariant. - Extract the archive into new location.
- Configure ASF.
- Launch ASF by either using a helper script or executing
dotnet /path/to/ArchiSteamFarm.dllmanually from your favourite shell.
Helper scripts (such as ArchiSteamFarm.cmd for Windows and ArchiSteamFarm.sh for Linux/macOS) are located next to ArchiSteamFarm.dll binary - those are included in generic variant only. You can use them if you don't want to execute dotnet command manually. Obviously helper scripts won't work if you didn't install .NET SDK and you don't have dotnet executable available in your PATH. Helper scripts are entirely optional to use, you can always dotnet /path/to/ArchiSteamFarm.dll manually.
 |
 |
 |
 |
|---|
 |
 |
 |
 |
|---|
- 🏡 Home
- 🔧 Configuration
- 💬 FAQ
- ⚙️ Setting up (start here)
- 👥 Background games redeemer
- 📢 Commands
- 🛠️ Compatibility
- 🧩 ItemsMatcherPlugin
- 📋 Management
- ⏱️ Performance
- 📡 Remote communication
- 👪 Steam Family Sharing
- 🔄 Trading